
Here’s a quick guide on how to make a survival knife from some easily available items.
You will need
Hacksaw blades (most are carbon steel, flexible and strong)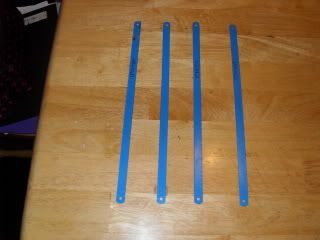
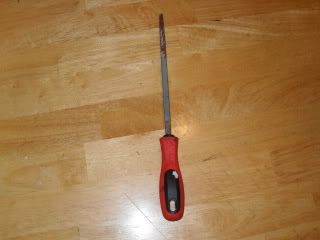
Bench grinder (or a file if you can’t get to a grinder)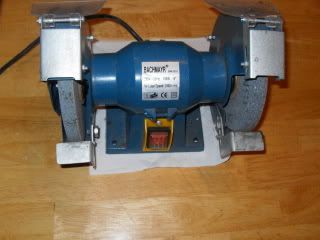
Pliers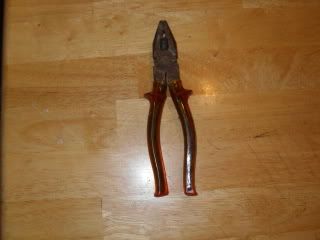
Background info
Having made a survival kit that’s as small as possible, I needed a knife to fit in the container, one that was small and thin enough to fit with ease but was strong and flexible at the same time. Also I wanted it to be easily replaceable; if it was possible I also wanted it to double up as a saw. One of my friends recommended trying this and I find that it’s perfect for my survival kit. Anyway, on with the instructions!
First take your pliers and snap the hacksaw blade into 3 rough pieces starting at each end, making them as big or as small as you think you need, if it’s too long it will be easy to break but if it’s too short it will be impractical so use your judgement here.
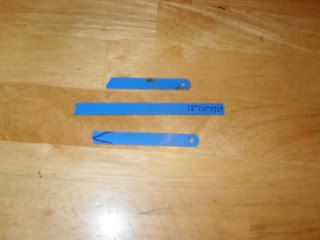
Now with a pen mark out a rough idea of how you want your knife to look on your hacksaw blade, I picked one of the ends with a hole in because then it can be attached to a string so it isn’t lost or some Para-cord, this would make a grip and you would be able to take it off and use it to tie things if need be. You could use the middle piece too but I don’t use it because I can’t attach it to anything to make a grip.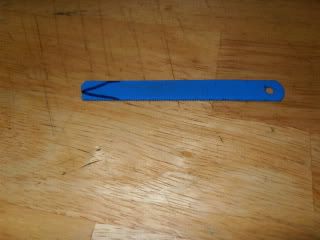
I’ve chosen a slightly rounded design to make it more stable and less likely to break.
Now you need to go to your grinder and get to work, it shouldn’t take very long at all to make the blade, a few minutes at most, be careful you don’t take off many of the grooves if you want to use it as a saw as well. Sometimes it takes a few tries before you get it how you want, but seeing as the blades are so cheap it shouldn’t matter too much.
If you’re using a file this will be quite a bit harder and more time consuming but it can be done so don’t be put off by not having a grinder, just carefully file around what you’ve marked out on the blade and in no time you’ll have your knife.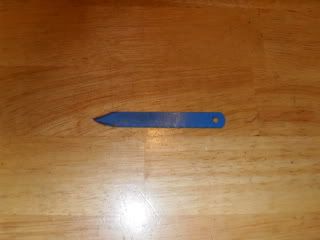
This is the knife up-close, it’s getting there but needs some finishing touches, for this I got some sandpaper to sharpen the knife up more. I then sanded up the rest of the blade to take off the blue paint. This is only optional but can improve the quality of your knife by making it sharper, I think it looks better too.
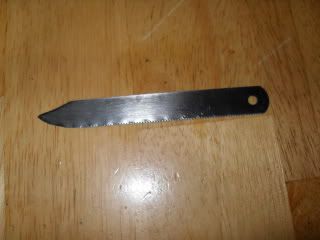
Here is your finished survival knife! Once you get the hang of it you can make quite a few in a short amount of time, obviously they won’t compare to a expensive survival knife but because of its size and different purposes it can be invaluable in a survival kit where you don’t want to be carrying around a lot.
WARNING: Some things described on this site are potentially dangerous/illegal. The writers of this site assume no responsibility for the consequences that may result from attempting the activities described here.
Want to submit an article? Email it to adventuresandmadness
No comments:
Post a Comment